Steps to Implement a Language Switcher Button on a Multilingual Webflow Website

Webflow updates have made it possible to implement language switcher buttons. Previously, it was a cumbersome process that required directly setting the link destination in a link block. With the implementation of language switcher buttons, you can save time on link configuration.
There was also an issue where switching languages from a sub-page would redirect users to the homepage, but implementing a language switcher button can resolve this. This article explains the steps to implement a language switcher button, enabling efficient multilingual deployment.
Steps to Implement a Language Switcher Button
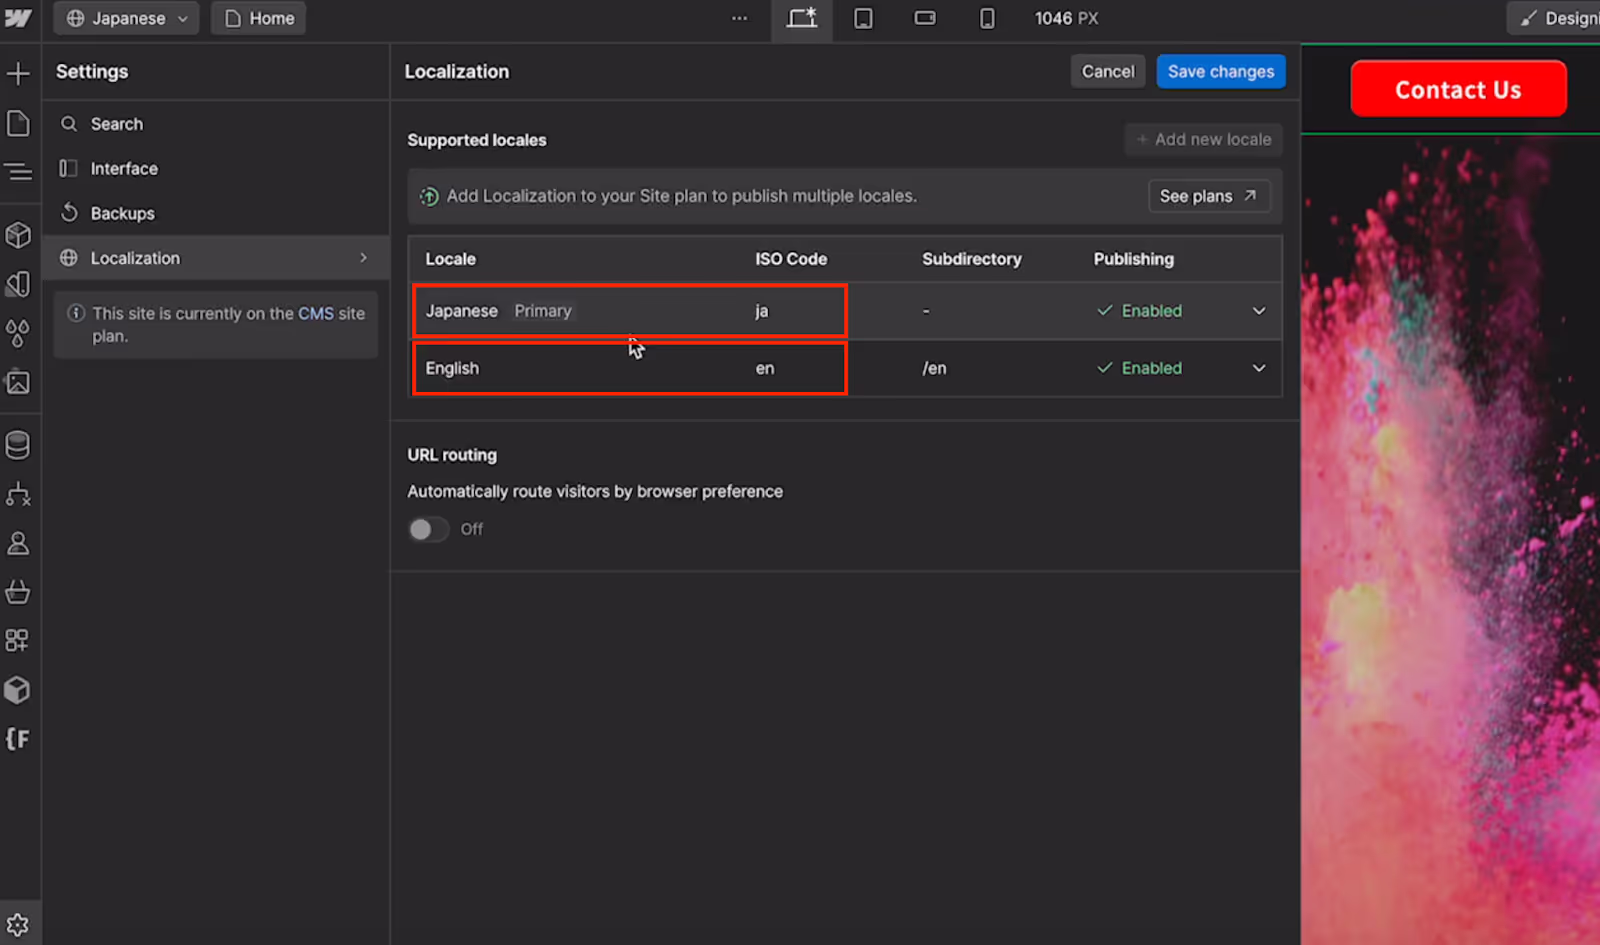
Before implementation, it's important to understand that you need to subscribe to a localization plan to enable multilingual deployment. Please note that language switcher buttons cannot be implemented with a free plan.
First, ensure that your base language and the pages for other languages are ready. This time, we will explain how to implement a language switcher button within the navbar.
Language Switching with Locale List
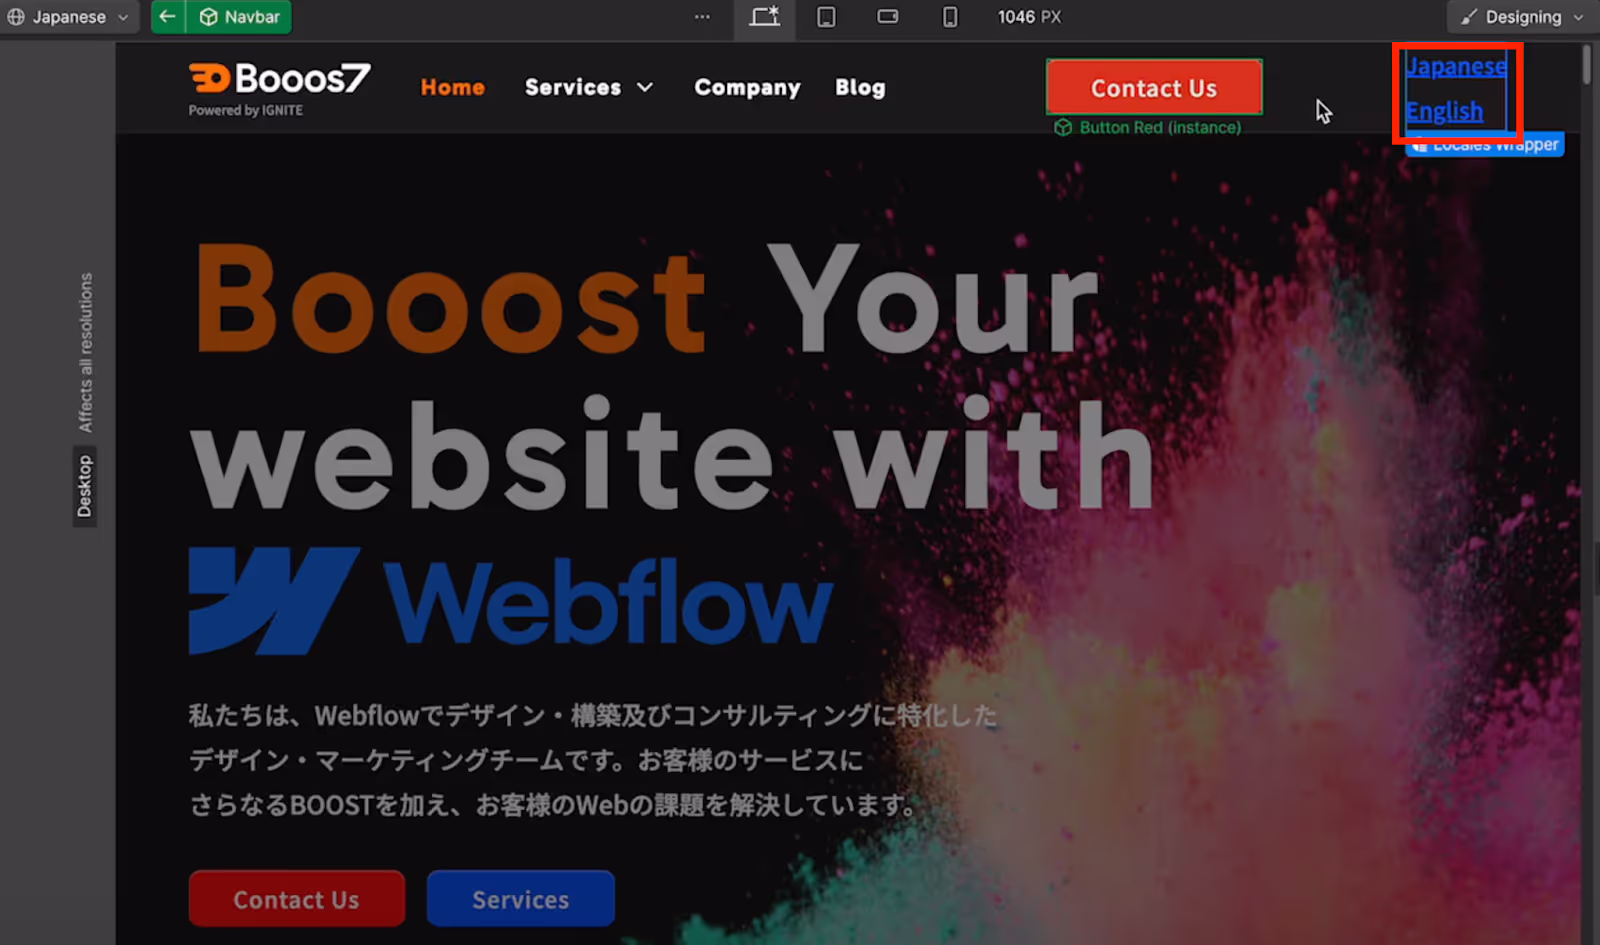
1. First, open the component editing screen and select where you want to set up the language switcher button.
2. From the left menu, click "Add Element" then "Locale List".

3. The locale list for your currently configured localization region will automatically appear.
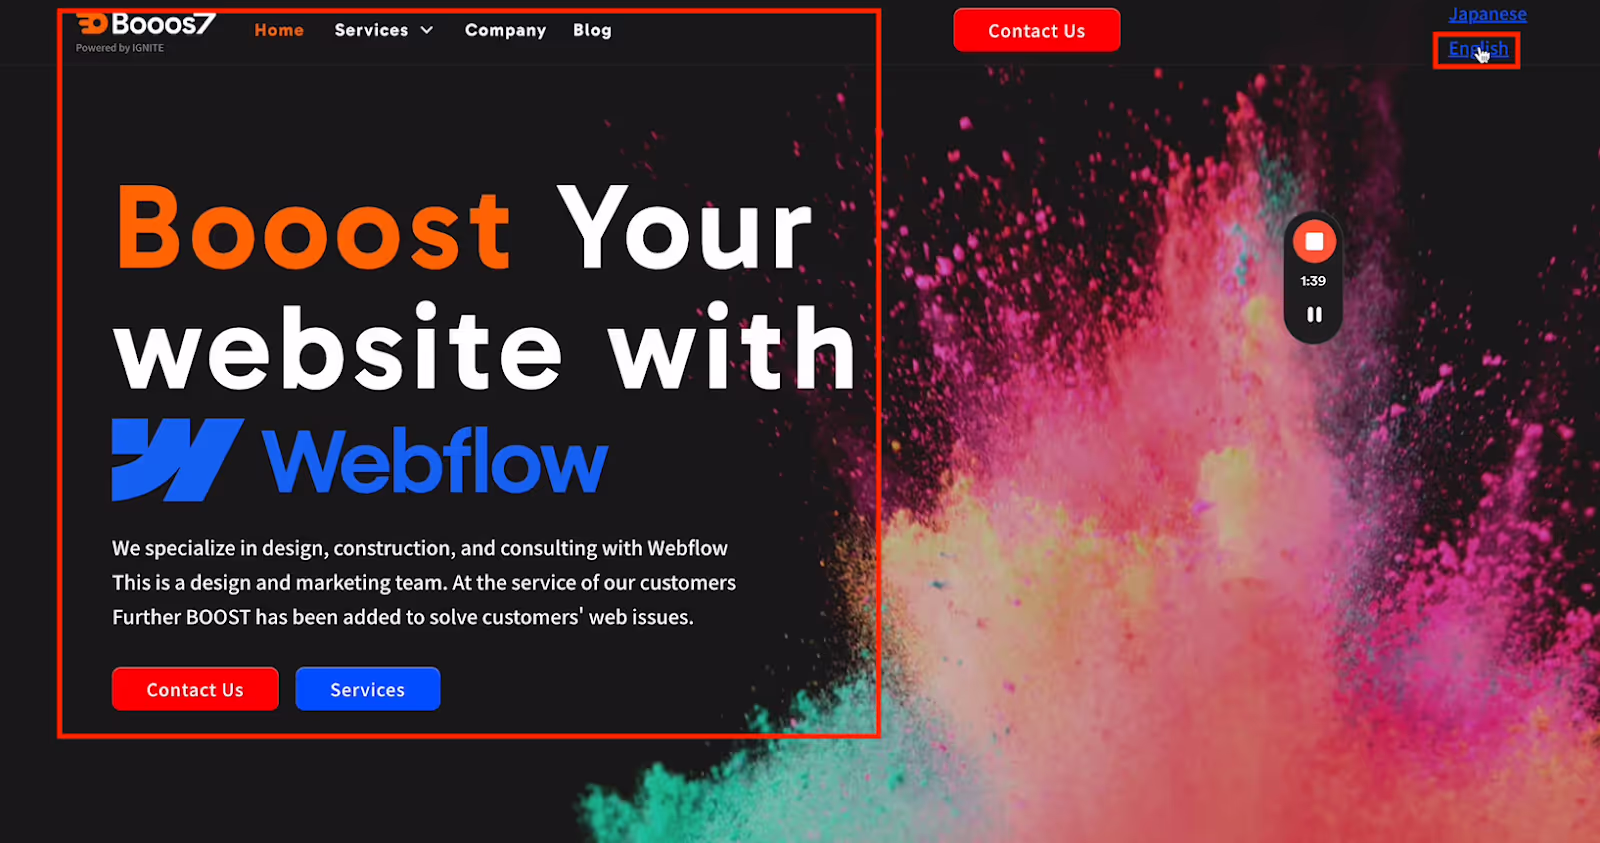
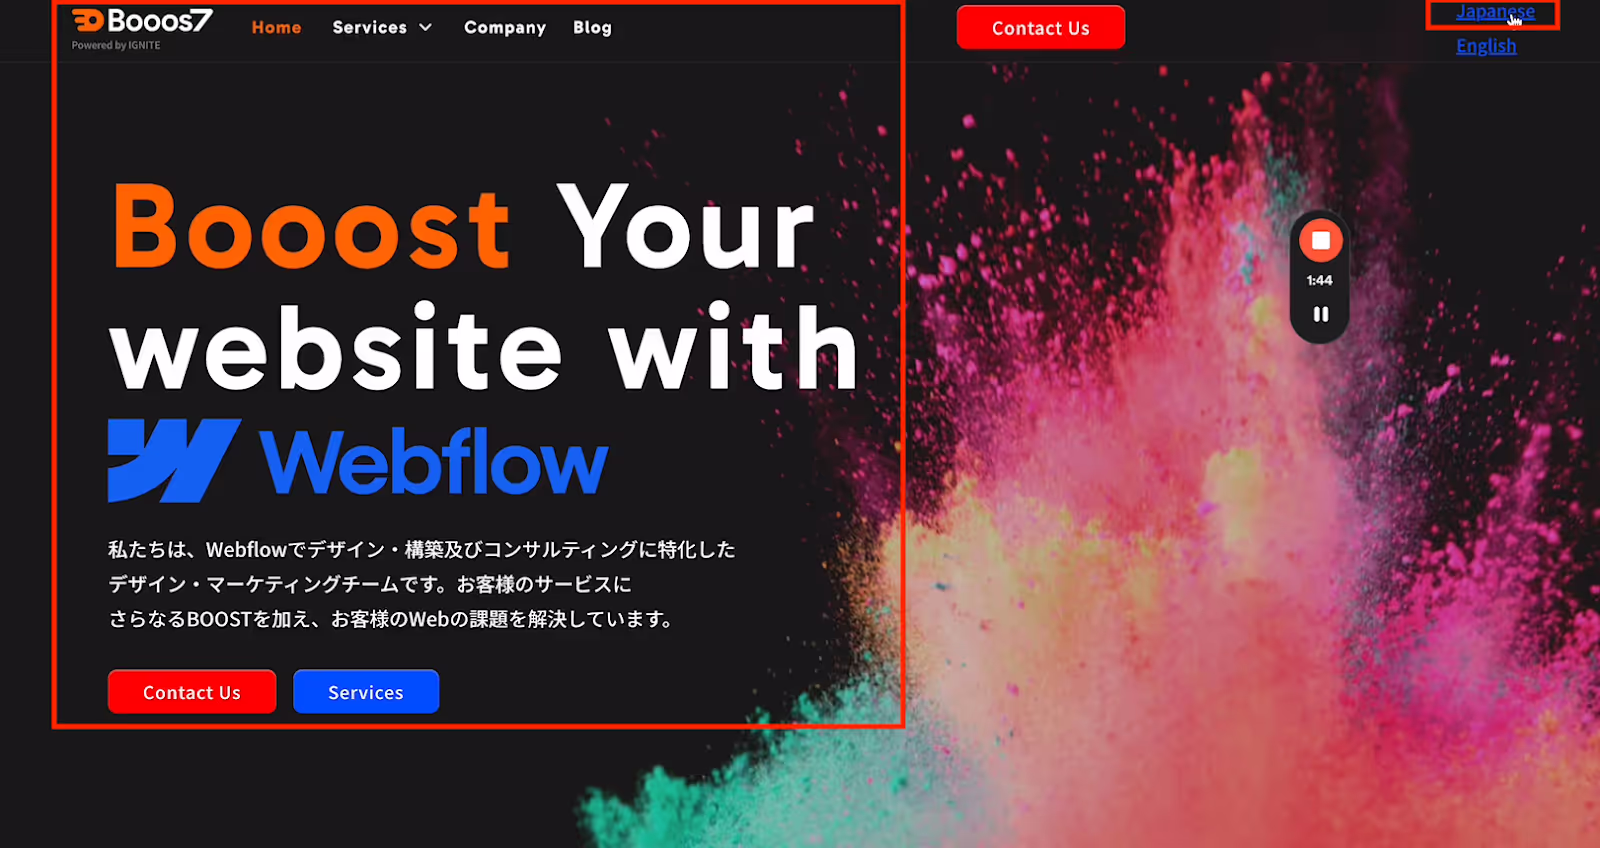
4. When you click on the locale list on the published page, it will navigate to the respective language pages as shown below.
[English Page]
[Japanese Page]
Customizing the Language Switcher Button as a Dropdown
Next, we will explain the steps to implement the language switcher button as a dropdown.
Implementation Steps for a Dropdown Menu
1. From the left menu, select "Add Element" then "Dropdown".
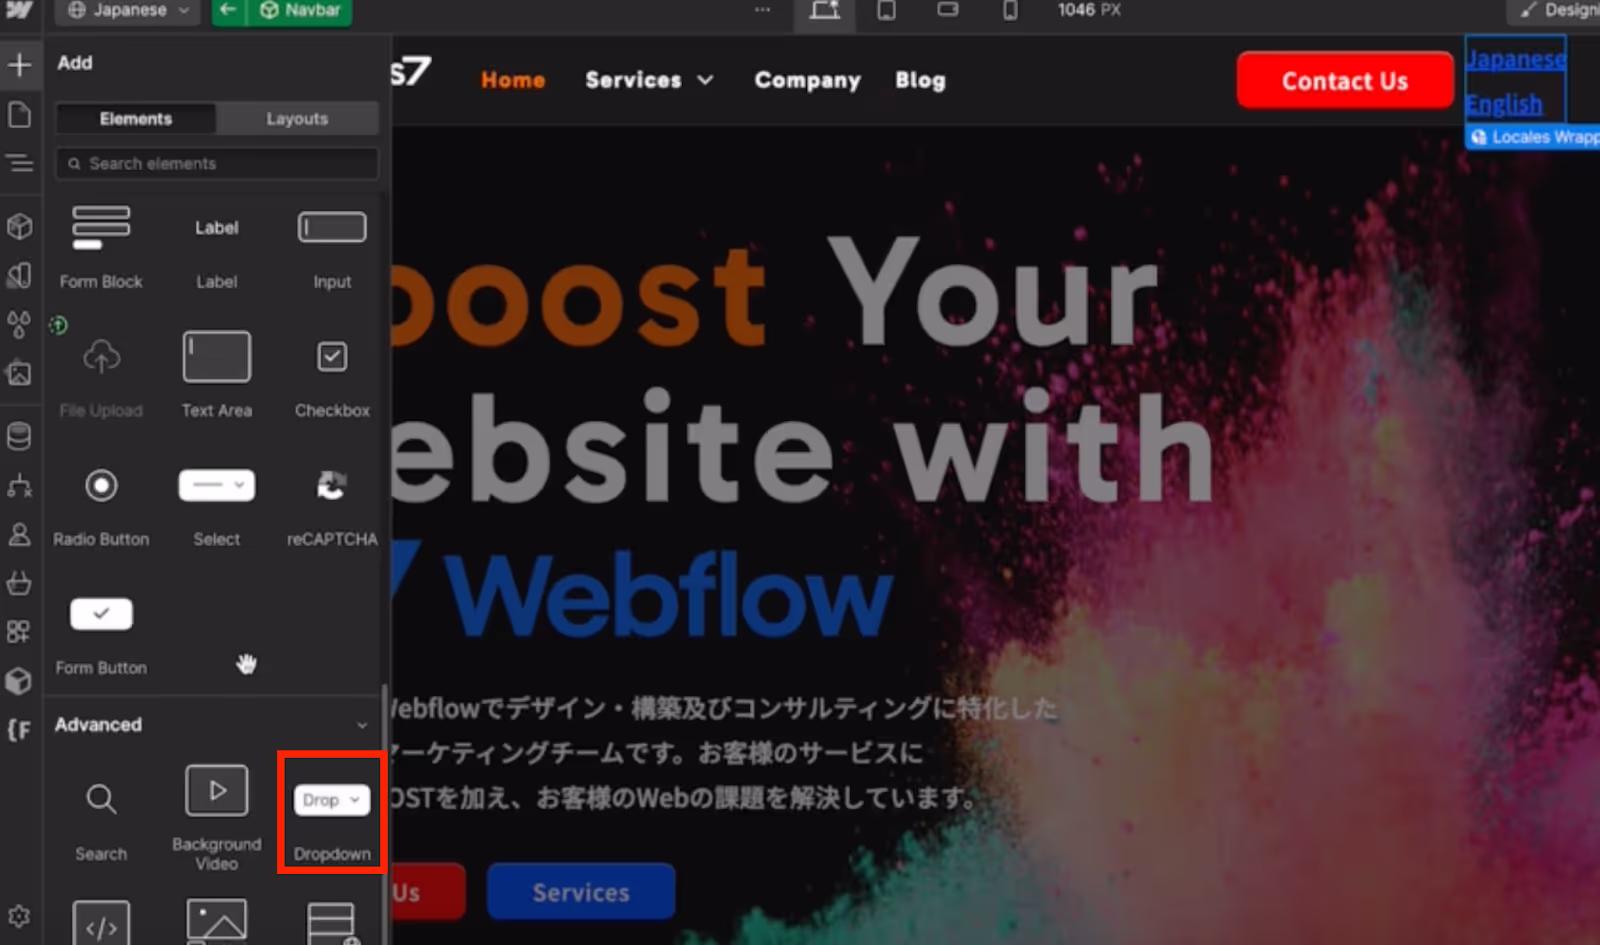
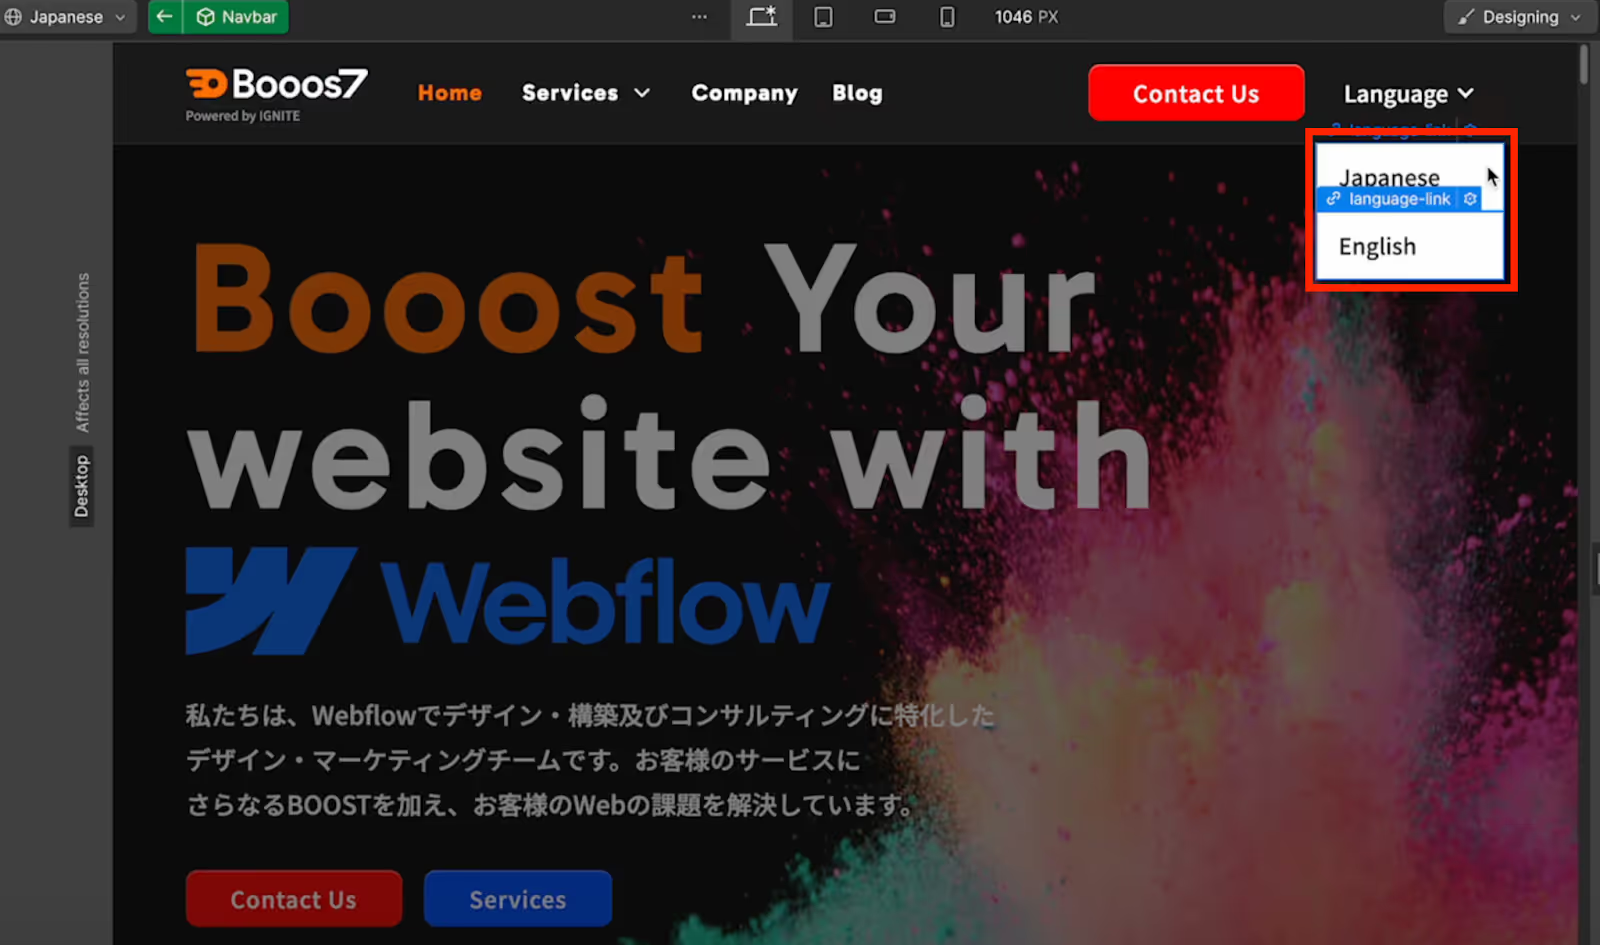
2. The dropdown menu will automatically appear.
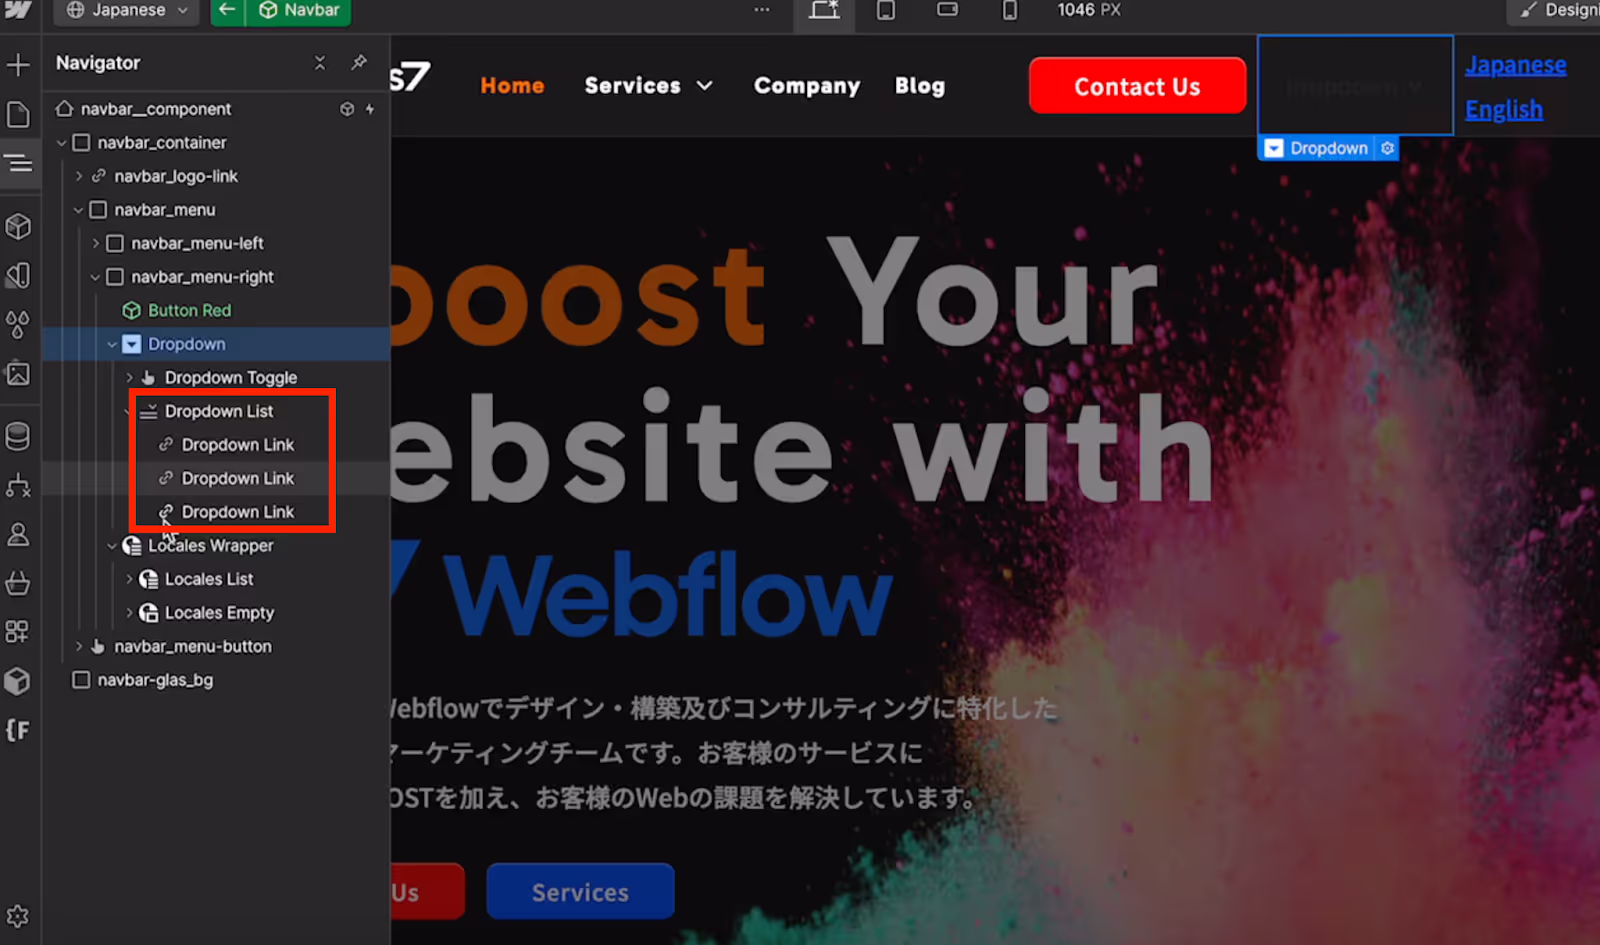
3. Delete any unnecessary links from the "Dropdown List" within the dropdown.
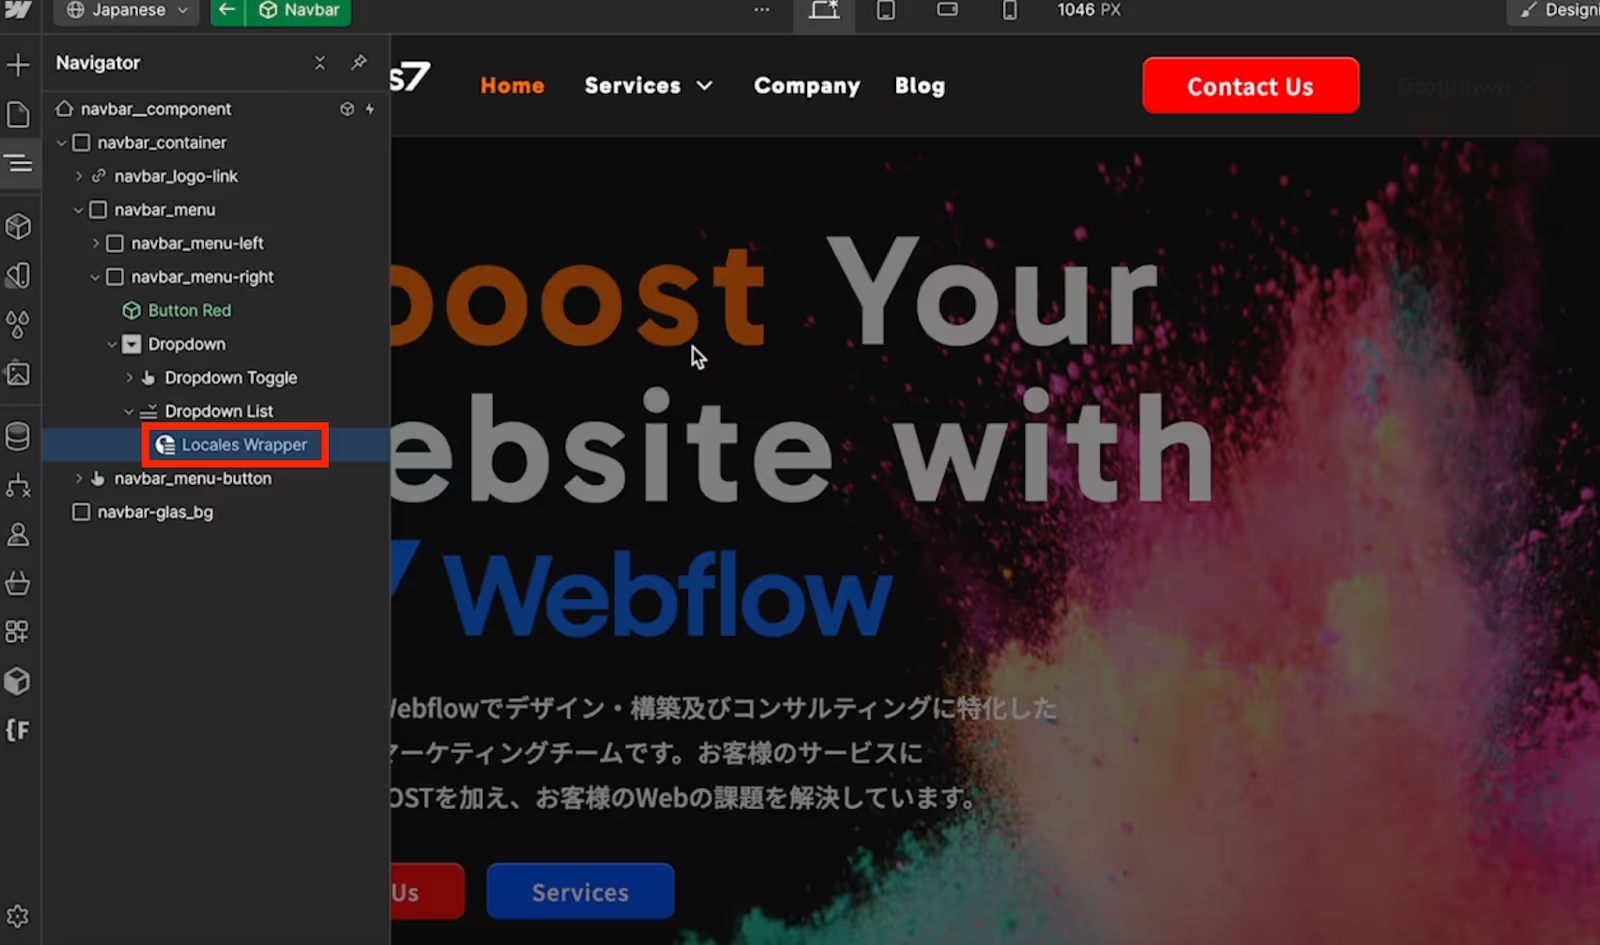
4. Drag and drop the "Locale Wrapper" into the "Dropdown List" to configure it.
5. Change the text and colors to your preference from the Style panel.
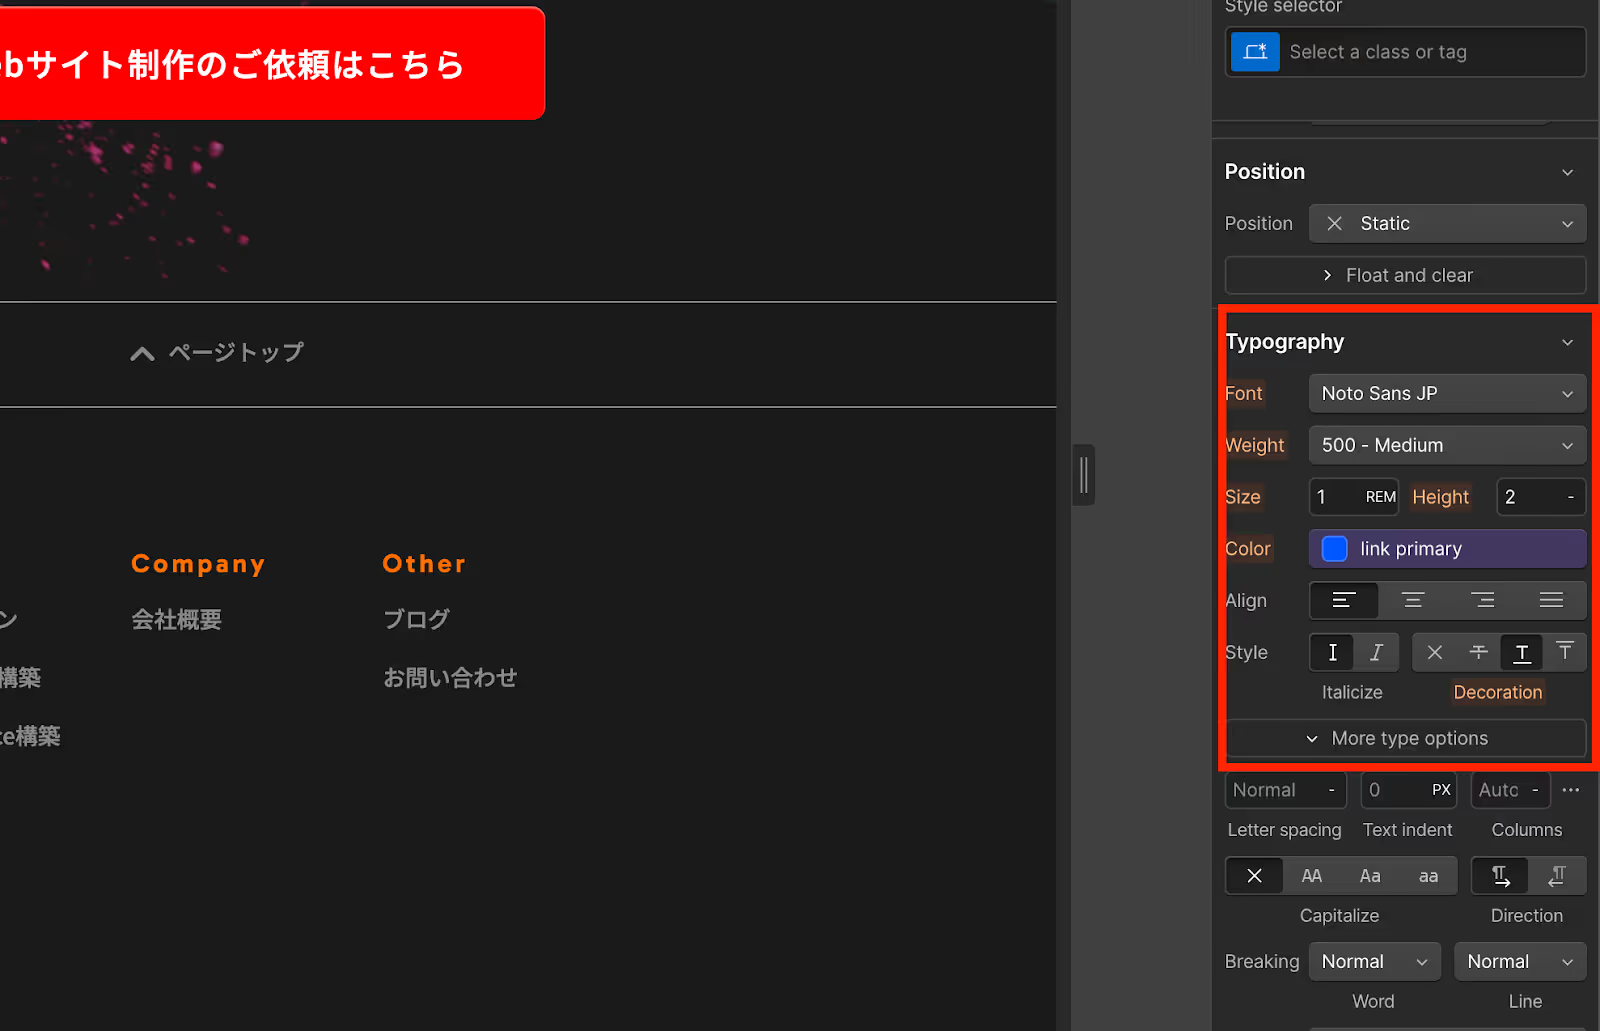
6. Change the style of the list within the dropdown, then publish to complete the process.
Implement a Language Switcher Button and Go Multilingual
By following these steps, you can easily implement a language switcher button on your multilingual Webflow website. Implementing a language switcher button saves time on link configuration and allows for efficient multilingual deployment. Take this opportunity to set up your language switcher button.
At our company, we offer website development using WebflowBooos7a service called Booos7. Please feel free to contact us if you have any questions.
Booost is a web development service specializing in the no-code tool "Webflow."
We maximize your website's customer acquisition power through three optimizations: design, marketing, and translation.

