
[For Beginners] A Comprehensive Guide to Cloudflare Setup!

Enhancing website performance and implementing robust security measures are crucial for the success of any online business.
However, specialized knowledge and complex configurations often pose a barrier. This article provides practical steps, from account registration to basic settings. Leverage Cloudflare to accelerate your business growth.
What is Cloudflare?
Offering a wide range of services, from website performance enhancement and security measures to serverless computing, this platform has become a vital infrastructure supporting the modern digital world.
Let's explore what Cloudflare is and what you need to get started.
Cloudflare Overview

Cloudflareis a globally utilized CDN (Content Delivery Network) service. By implementing a CDN, you can improve site loading speeds, protect your website from attacks like DDoS, and easily set up free SSL certificates.
What You Need to Get Started with Cloudflare
To get started with Cloudflare, you'll need to prepare the following. Having these ready beforehand will ensure a smooth registration process.
- A custom domain
- A valid email address
- A password
How to Perform Cloudflare's Initial Setup
Now, let's go through each step of Cloudflare's initial setup in detail.
Step 1: Access the Cloudflare Official Website
First, go to theCloudflare official website.
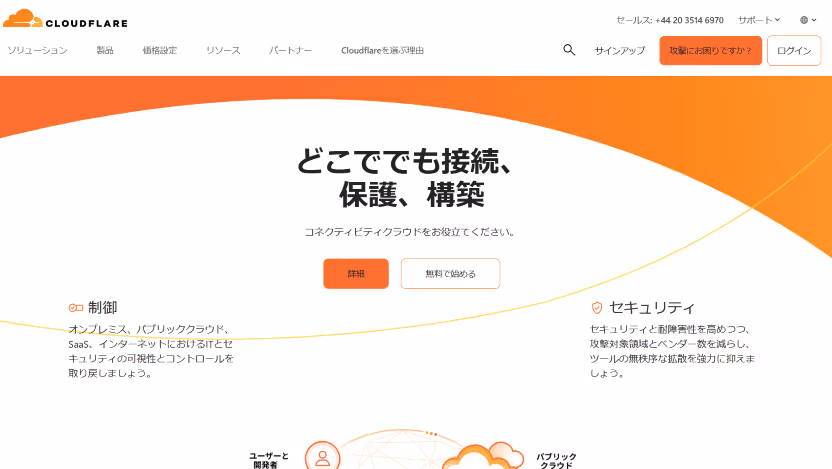
Source:Cloudflare
Step 2: Create an Account
- Click "Sign Up" in the top right corner of the screen.
- Select the "Free" plan.
- Enter your email address and password to create a new account.
[Key Point]
- Use a valid email address.
- Create a password that meets Cloudflare's requirements, such as including uppercase and lowercase letters, numbers, and symbols.
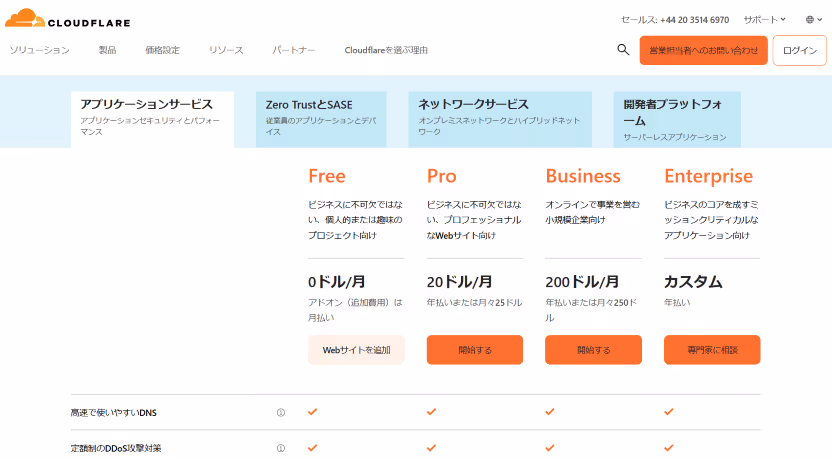
Source:Application Services Plans | Pricing | Cloudflare
Step 3: Add Your Domain
- After creating your account, log in to the Cloudflare dashboard.
- From your personal account, enter the custom domain name you want to connect and click "Continue."
- A plan selection screen will appear; choose the Free plan or a paid plan if needed.

Source:Account Home | Cloudflare
Step 4: Review and Edit DNS Records

Source:Cloudflare
Cloudflare will automatically scan for existing DNS records for the domain you entered.
Once the scan results are displayed, verify that they are correctly recognized and make any necessary corrections or additions.
Step 5: Change Name Servers (NS)
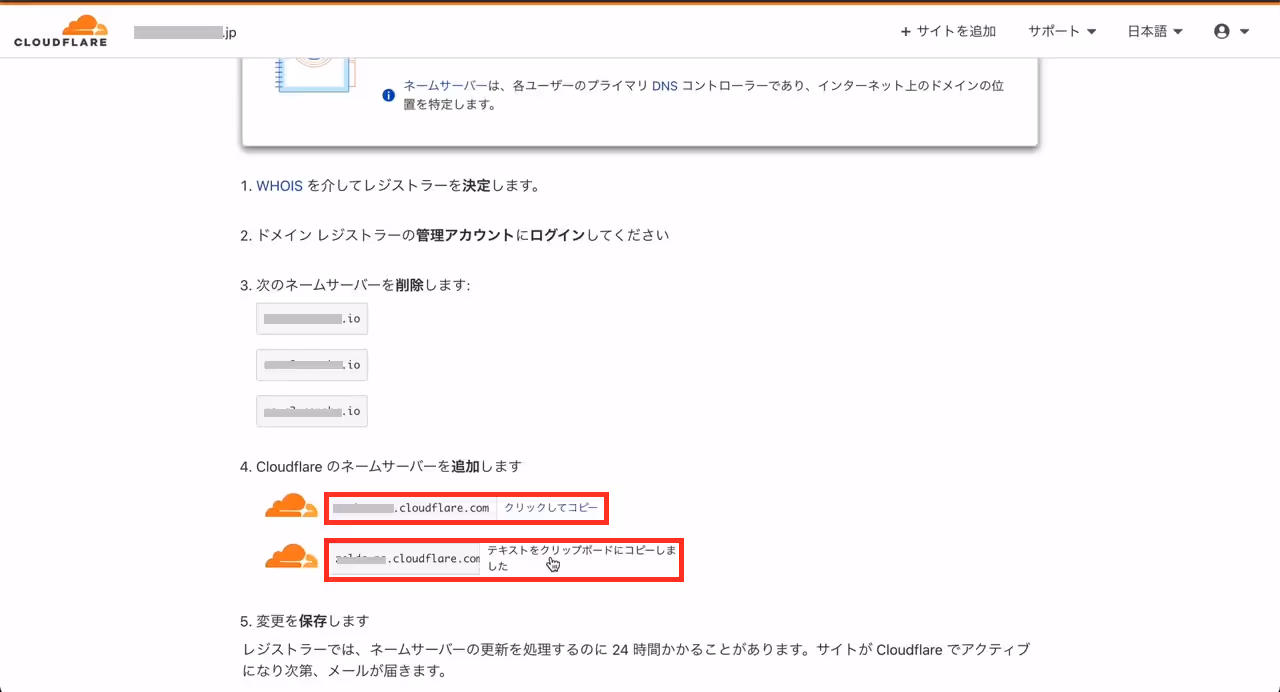
Source:Cloudflare
- Cloudflare's designated name servers will be displayed (e.g., lisa.ns.cloudflare.com and john.ns.cloudflare.com).
- In the administration panel of your domain registrar (e.g., Name.com, MuuMuu Domain, Google Domains, Squarespace), change your domain's name server settings to the Cloudflare-designated name servers.
[Key Point]
- While the interface varies by registrar, you typically change these settings from a menu labeled "DNS Settings" or "Name Server Settings."
Step 6: Wait for DNS Propagation
After changing your name servers, it may take several hours (usually within 24 hours) for the DNS to propagate across servers worldwide. Once you receive an email, check your Cloudflare dashboard.
Once the status shows "Active," the setup is complete.
After Setup is Complete
Once access via Cloudflare is enabled, you can benefit from CDN-driven performance improvements, DDoS protection, and free SSL certificates. Additionally, configure the following settings as needed.
Following the quick start guide and enabling and saving each item will allow for easy configuration.
- SSL/TLS Settings: Enable HTTPS to secure communications.
- Page Rules: Fine-tune settings for specific pages or paths.
- Firewall Rules: Restrict access from specific countries or IP addresses.
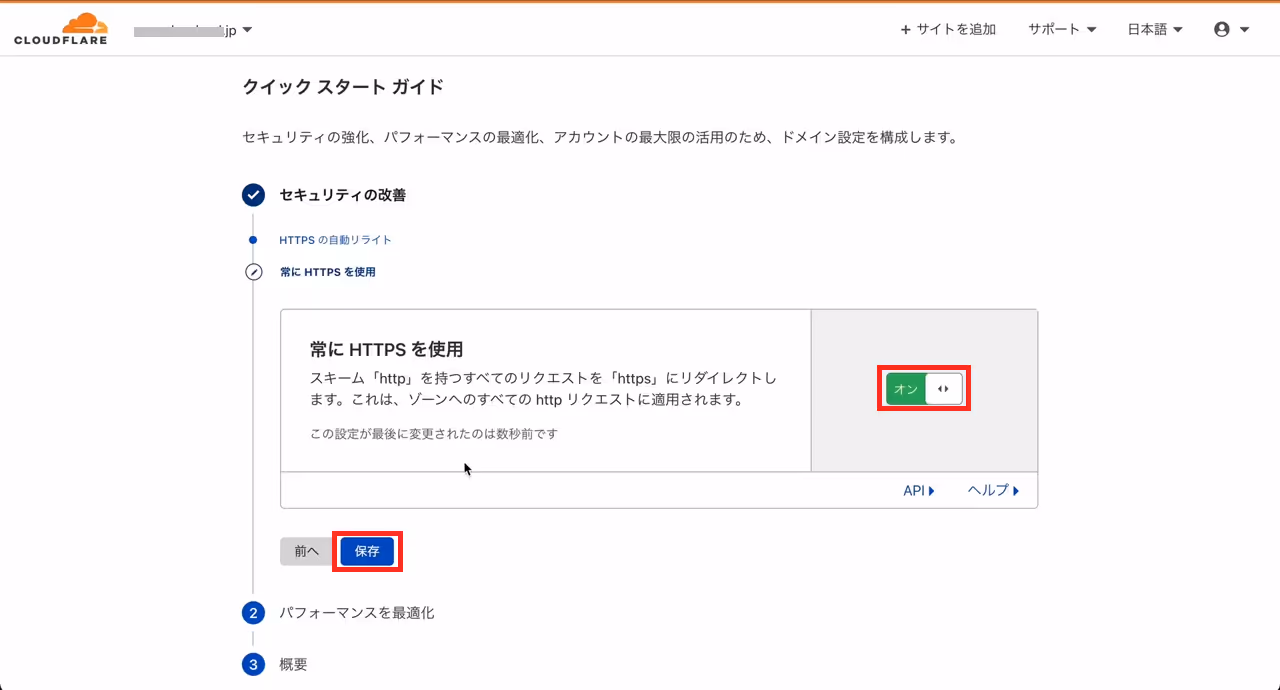
Source:Cloudflare
Summary
This article explained how to perform the initial setup for Cloudflare, a CDN service that enhances website performance and security. By using Cloudflare, you can easily enjoy benefits such as improved loading speeds, protection from DDoS attacks, and the implementation of free SSL certificates.
To set it up, first create a free account and add your custom domain. Next, change your DNS settings to Cloudflare's name servers and wait for propagation. Finally, enable the CDN, security, and SSL features. By following just these steps, your website will become faster and more secure. Take this opportunity to implement Cloudflare and achieve seamless website operation!
Booost is a web development service specializing in the no-code tool "Webflow."
We maximize your website's customer acquisition power through three optimizations: design, marketing, and translation.

